The perfect panoramic print and how I produce one.
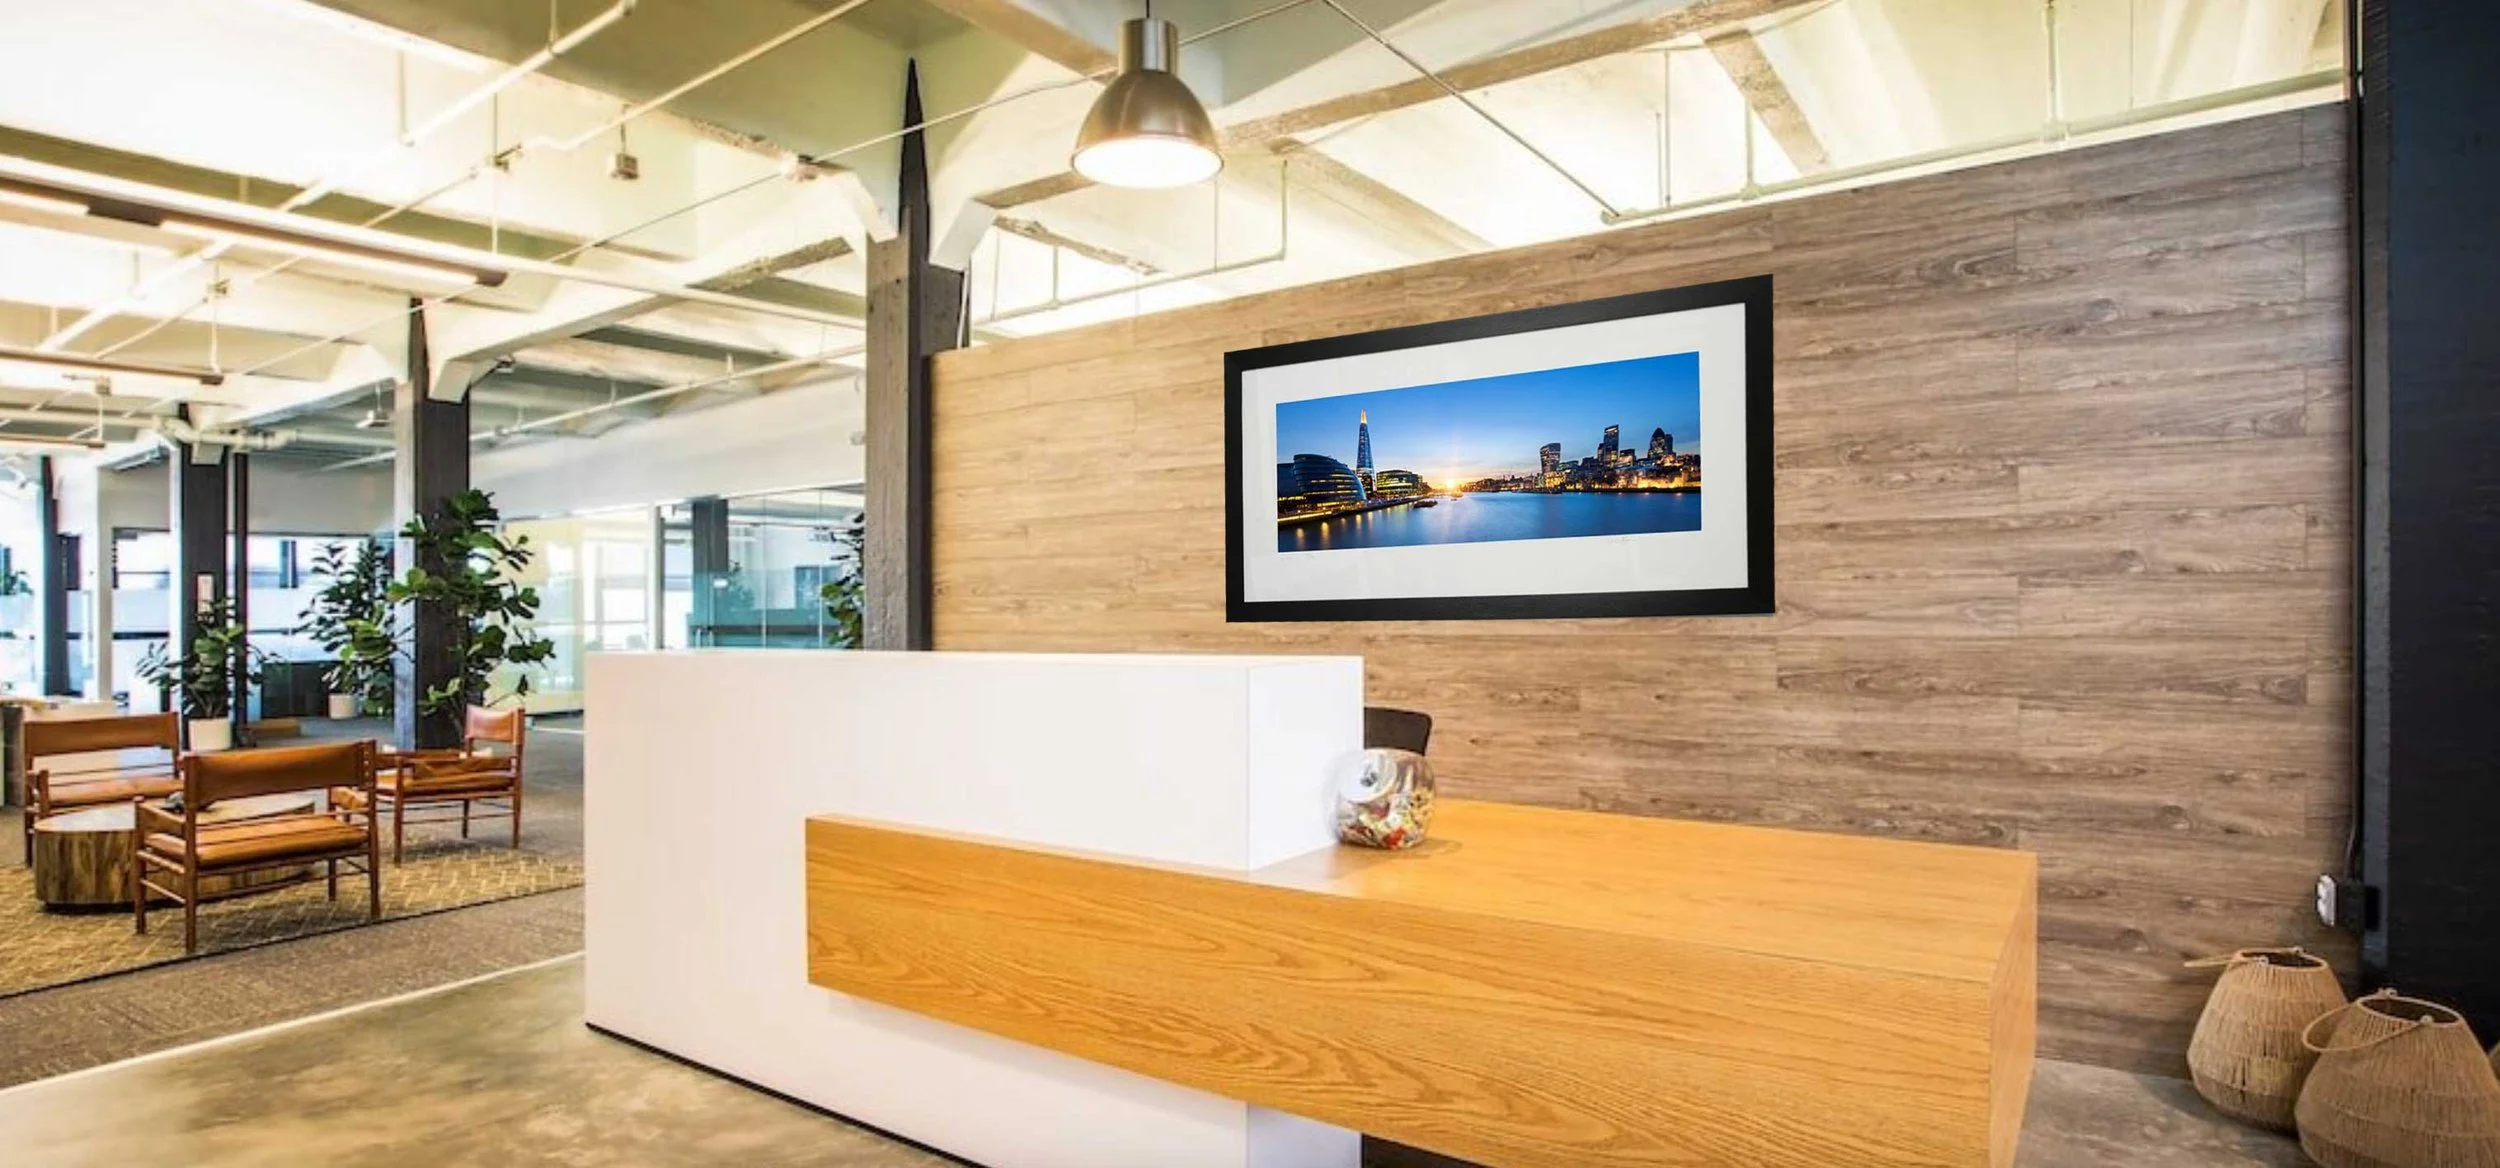
Panoramic prints are something I truly love. I enjoy capturing the photograph, and I spend extra time considering the final shape and proportions of the print. When it’s a commission for a client, I also think carefully about the space where the piece will hang — the office wall or the home room — so the image complements the surroundings and fits perfectly.
Panoramic prints are something that I’m known for, and I have many clients who come back to me because they love that sweeping panoramic shape.
Firstly, I’ll have the location in my mind and the time of day that will work best for the scene. Generally I’m quite familiar with the location, particularly when it’s somewhere in London, so I can anticipate the composition and the best vantage points.
The light at the beginning or the end of the day is normally the most favourable, as there’s plenty of ambient colour and subtle contrast at sunrise and sunset. When the sun is low in the sky it also allows me to do interesting things with the silhouettes and long shadows that the light produces. If I’m shooting on film and using black and white I’ll often choose a fairly fast ISO – around 400 – and sometimes I’ll push to 1000 ISO. The graininess that a faster film produces can actually add to the overall contrast and texture of the image.
When I’m planning a colour print I’ll typically opt for Fuji Velvia slide film, which has a very low ISO of around 64 and yields rich, saturated colours that are beautiful in a framed print. Occasionally I still want a touch of grain in a colour print, for atmosphere, as in this image of St. Paul’s. If I’m using a DSLR the process is essentially the same; I still think in terms of the way film behaves and how the exposure and grain will translate to the final print.
I always use a tripod — it’s an essential part of the workflow and I rely on it for stability and precise composition.
If I’m using my medium format camera I’ll take a few Polaroids to check exposure and to get a feel for the part of the image I’ll later use for the panoramic print. Normally it’s the middle portion of the portrait-shaped medium format frame that I favour. The weather is the biggest variable when taking a picture — if it means waiting for several hours for the perfect light, conditions can still change; you can get four seasons in one day and all that. I’ll take a few dozen shots and then head back to my darkroom, where everything will be revealed. I usually have a good sense of whether the outing was successful because the test Polaroids give me a reliable indication.
So I’ll develop my film.
Once I can see what I have to work with, I’ll begin by making a few careful test prints. The great thing about slide film is that it’s positive rather than negative, so you can easily judge, by looking at a slide, how a final print might appear. It’s a methodical, patient process to produce those initial proofs. Once I’ve narrowed down which negatives or slides I want to develop further, I’ll start making additional test prints to fine-tune the image. The balance between highlight areas and deep shadows will often require a little ‘dodging and burning,’ and the choice of paper can also make a noticeable difference to tone and texture.
Watching a print slowly come alive in the developer fluid remains one of the most fantastic moments. Ever since I first learned how to make a print at fifteen, I’ve looked forward to this part at the end of the process. So yes, you might ask: what about digital cameras and Adobe Photoshop? I do use digital capture and I do use Photoshop when it’s appropriate, but most of the work you see on this website was taken using film and the prints are still made by hand. That is what many of my clients prefer — they appreciate the traditional craft. My prints are somewhat more expensive than a lot of work you’ll find online because so much time and care goes into making each print, and even more effort and skill are required when producing a panoramic print.